I did a little internet research and found that since then, modeling chocolate, or candy clay, has become very popular for decorating. The girls and I watched a few YouTube videos, found a good recipe, and decided to give it a try on Delaney's birthday cake.
Wilton candy melts + light corn syrup = candy clay.
It has to sit for a day to harden, so we practiced with play-doh after we put our ingredients together.
This video was our favorite, and extremely helpful.
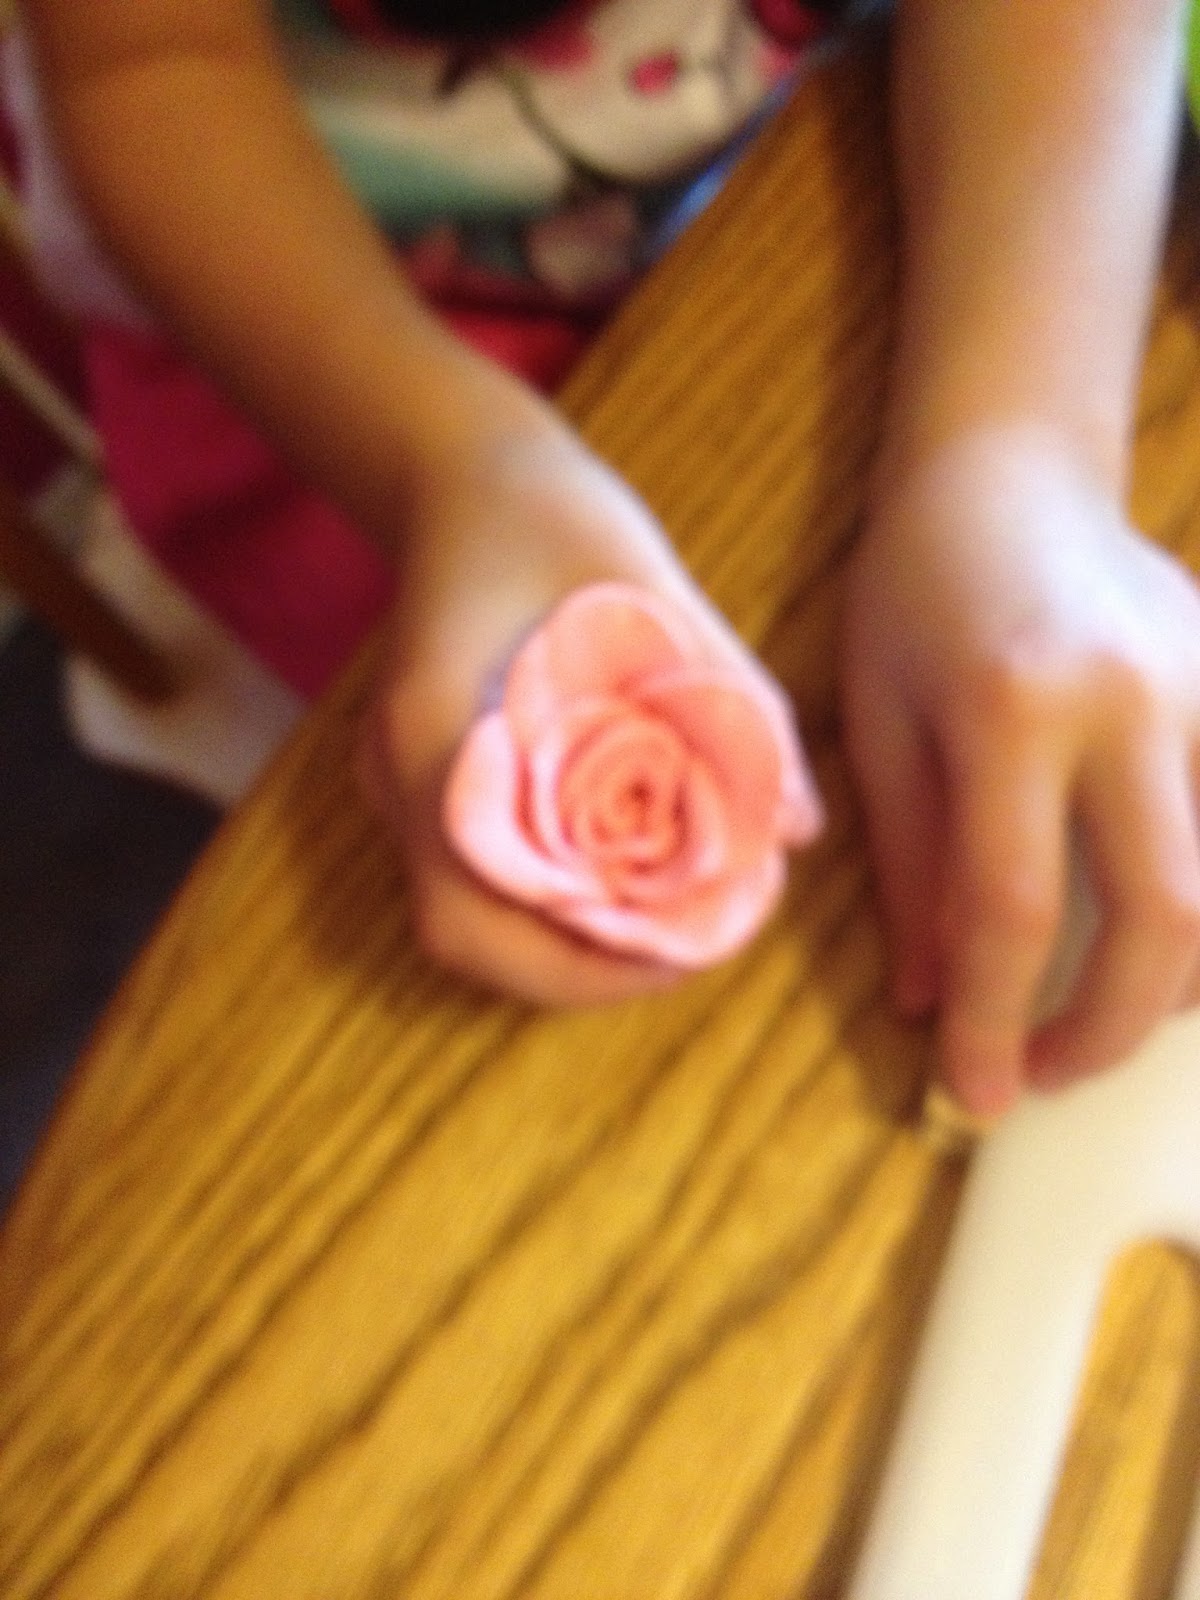
Delaney got right to work.
Delaney's first rose...
My first try...
Even Sophie was able to make them...The next day, we used the hardened candy clay. Our original recipe told us to add coloring once the clay was hardened, and knead it in, which worked just fine, however, our YouTube video suggested to add color while making the clay, and stir it into the liquid. This method would be much easier, and I think we will try it next time.
Sophie and I molded a bunch of little balls to be fashioned into petals.
 |
| Yes. She has quite a unique fashion sense. |
As we began to make the roses, I found that it was a better idea to just make the balls and flatten as we used them. They dried out fairly quickly while waiting for us, and we had to soften them and flatten them again.
The clay was easy to use and we had 100% fun and 0% frustration, which was a HUGE departure from my fondant experience. It is also about 1,000,000 times less messy to make, and my kitchen was happy about that.
 |
| She's an expert now. |
I continued to research tutorials while the girls fashioned roses from the candy clay, and found this fantastic website, www.wickedgoodies.net. This baker is extremely talented, and I ended up ordering her book for future cake-decorating fun.
Once we finished making roses for the top of the cake, it was time to make some frosting. I found a marshmallow buttercream recipe and modified it a bit, using 10 large marshmallows and 1 tsp. of corn syrup instead of marshmallow creme. It turned out perfectly. It has a nice, springy consistency and is extremely easy to work with. It also is far less messy to make than my usual buttercream recipe.
 |
| It tastes good, too! |
Next, we added ribbon to the sides of the cake, since that is one of the styles that Hannah likes for her wedding cake, and Delaney thought it was pretty also.
I cut strips of ribbon, and sprayed them with non-stick spray, which is supposed to keep the butter in the frosting from seeping into it.
I carefully attached it to the cake, using bits of frosting as my glue.
Finally, I spread a layer of frosting to the top of the cake, and Delaney and I added the roses.
She did such a good job on her roses that I couldn't tell which ones I had made, and which ones were hers!
We had such a fun time making this (delicious) cake. Both Delaney and Sophie have been practicing making play-doh roses ever since, and pretending to own a bakery.
We will attempt to make ruffles with the candy clay next, since Hannah's wedding day is quickly approaching and that was another of her favorite designs. Our family doesn't have another birthday until October, though, so if you live nearby, you might just find that cake on your doorstep!


No comments:
Post a Comment
I'd love to hear your thoughts, opinions and ideas!